How to install Cartridges in the Printer?

When you have brought a new printer or you already have one, you shall know the steps of installing cartridges in your printer.
What is a cartridge ?
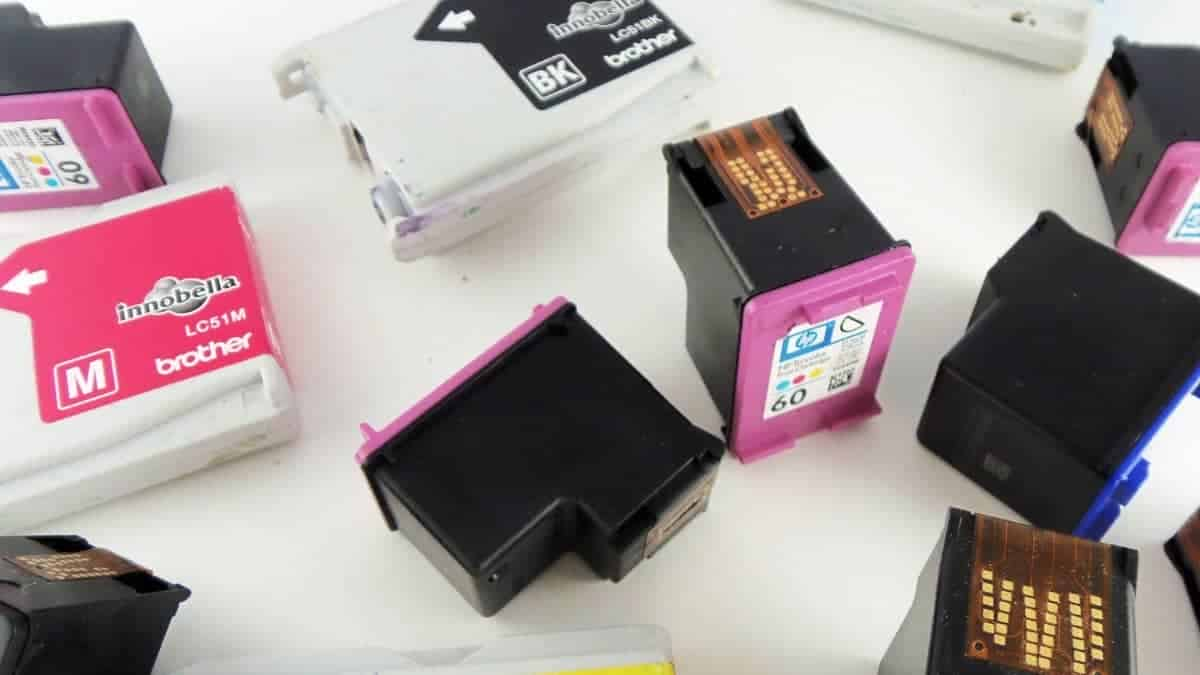
An ink cartridge or cartridge is an element of a printer which holds ink that is used during printing.
Each cartridge contains one or more ink spaces and can hold various colours.
Although, All printers don’t have various colour options.
Some give out black and white print whereas some provide colour print.
Additionally, different printers can be complimentary – either physical or electrical.
However, many printer producers combine the printhead and cartridge together whereas other manufacturers keep print heads different.
Now as we know what is a Cartridge,
Let’s learn how to install Cartridge in the printer?
Follow the steps given below to install Cartridge in your printer.

1)For installing cartridges, some printers ask for loading papers to complete the process.
So you have to add papers in the paper tray of the printer initially if your printer asks.
2)Now, switch on the printer, open the ink cartridge door.
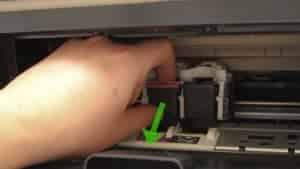
3)You’ll see the arrow towards the downside in the cartridge box.
Press the ink cartridge downwards (follow the arrow) and pull the ink box out.
4)Open the new cartridge and remove the plastic wrapped around ink nozzles.
Do not touch the ink nozzles or copper coloured part. It may create problems in printing the ink, or may create clogs.
5)Place that new cartridge in the same place, until it snaps down perfectly.
After placing the cartridge, close the Ink box and now you can use your printer for printing again.
Repeat the above steps to replace a new cartridge again in future.


