Your A-Z Guide on Solar Panel Installation

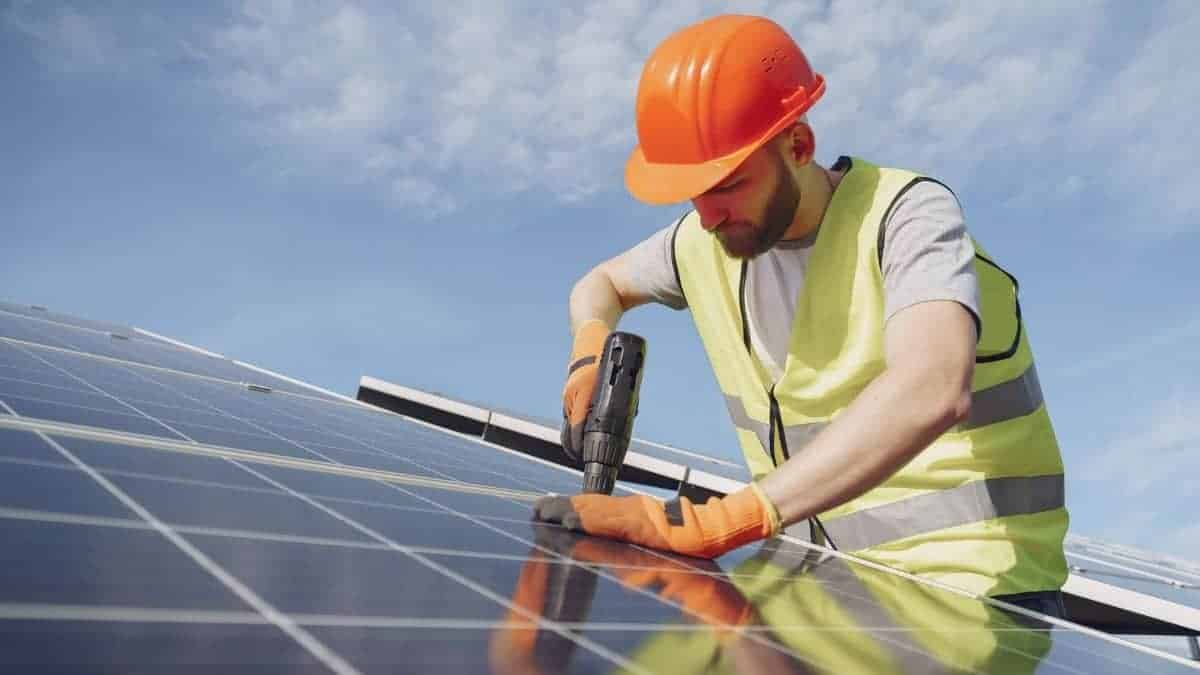
While there are several renewable energy sources being used across India, solar power is currently the most popular choice, primarily owing to its manifold benefits. Although the commercial and industrial sectors have been utilizing solar energy on a mass scale for decades, the domestic sector is also moving in the same direction. This poses many questions regarding solar panel installation, which this comprehensive guide will discuss.
We will talk about everything involved in the solar panel installation process, including some tips for maximum power generation. So, let’s get started!

Solar Panel Installation Tips
- A Robust Mounting Structure
When it comes to solar photovoltaic (PV) systems, the first and most crucial step is to set up the mounting structure. Since the solar panels are affixed to the mounting structure, it is essential to keep the wind-speed zone and wind loads in mind for maximum power generation. Additionally, the mounting structure should be robust, well built, and certified by an engineer.
- South-Facing Direction and Tilt Angle
An important step of the solar panel installation process is ensuring proper direction. This means that the PV modules should face southwards so they can get maximum exposure to sunlight and harness the sun’s energy efficiently. Similarly, it is essential to get the panels’ tilt angle right, which depends on the latitude in the area. You can consult with professional installation providers to know more about the tilt angle.
- Minimal Shadowing
Most homes and workplaces are surrounded by trees, buildings, clouds, and other objects that cast shadows. However, you must ensure that there is minimal shadowing when going for solar panel installation. This is crucial because the panels require direct sunlight to generate electricity, and shadows can prevent optimal performance.
Solar Panel Installation Steps
Now that we know the basics of solar panel installation, let’s discuss the steps involved in the process:
- After installing the mounting structure and affixing the solar panels, the next step is to set up the electrical wiring. For this, you will have to make two connections, one parallel and one series. This is an essential part of the solar panel installation process as it helps increase and maintain voltage levels.
- The second step is to connect the solar inverter with the solar PV panels. This must be done by connecting the positive & positive and negative & negative terminals of both the components.
- If you install an off-grid solar power system, you will require a solar battery for backup. In this case, the next step is to connect the battery to the solar inverter. This connection is simple as all you need to do is connect the inverter’s negative terminal to the battery’s negative terminal and vice versa.
- Next, you need to connect the solar inverter to the electricity grid through the main power switchboard. However, you might need to opt for net meter installation if you earn credits by selling excess power to the grid.
- The final step of the solar panel installation process is to switch on the main power source and the inverter, and you’re good to go.
While we have discussed the key aspects involved in solar panel installation, it is also essential to regularly clean and maintain the panels, which should ideally be done once every week. Additionally, you might need some government approvals and permits prior to the installation, but these requirements vary from one state to another.
Lastly, look for a reliable and trusted installation provider like Luminous. Luminous offers end-to-end solar panel installation services, including net meter installation, care & warranty support, insurance assistance, and much more. Even better, experts at Luminous can help you with financing options if required. So, visit their website to know more about their services and switch to solar today!


